Open the Project, adjust the view and turn on and off layers until you are happy with the resulting map.
Open the Layout Editor (Project > New Print Layout) and enter a name for it.
On the new, blank layout, click the New Map icon on the left toolbar (or alternatively navigate to Add Item > Add Map), and hold left-click and drag on the canvas to add in your map. View Screenshot
You can move the map (and any other objects to place on the layout) by selecting it with a double-click, and then dragging it to the desired location. You can resize it by dragging the small squares on the sides and on the corners.
Adjusting the Zoom and Position of the Map Data
Select the Move Content tool from the left toolbar (or navigate through Edit > Move Content).
Click and drag on the map to pan the view. To zoom in and out, double-click on the map to select it, and scroll with the scroll wheel. For a smaller zoom, hold Ctrl.
Adding Scale Bar and North Arrow
Scale Bar
Click on the “Add Scale Bar” icon on the left toolbar (or navigate to Add Item > Add Scale Bar), and then hold left-click and drag to add it in.
To adjust the scale bar, select it by double-clicking on it, and click “Item Properties” in the bottom right panel. View Screenshot
North Arrow
Click the “Add North Arrow” icon on the toolbar (or go through Add Item > Add North Arrow), then hold left-click and drag to add it.
Similar to the scale bar, to adjust the appearance of the north arrow, select item properties in the bottom right panel.
Adding a Legend
Click the “Add Legend” icon (or navigate to Add Item > Add Legend), then hold left-click and drag to add it.
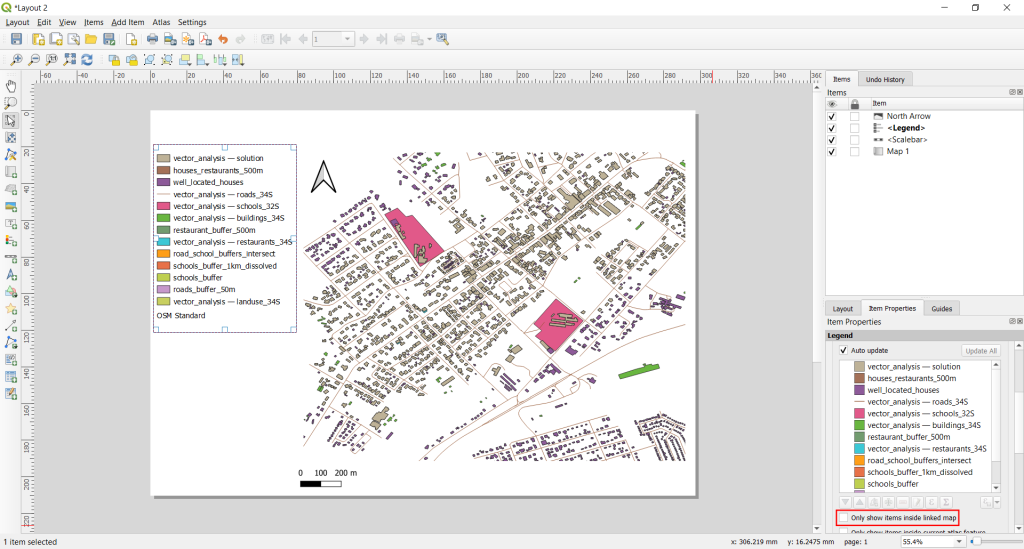
By default the legend will list all of your layers with names and order as displayed in the layers list when editing your map, including layers that are not being displayed.
Check the box for “Only show items inside linked map.” This will remove layers that are not being displayed from the legend. View Screenshot
To edit the name displayed for a layer in the list, you can change the corresponding layer’s name in QGIS via its Properties tab, under Source. Auto update must be turned on for this to work.

 on the left toolbar (or alternatively navigate to Add Item > Add Map), and hold left-click and drag on the canvas to add in your map.
 from the left toolbar (or navigate through Edit > Move Content).
 on the left toolbar (or navigate to Add Item > Add Scale Bar), and then hold left-click and drag to add it in.
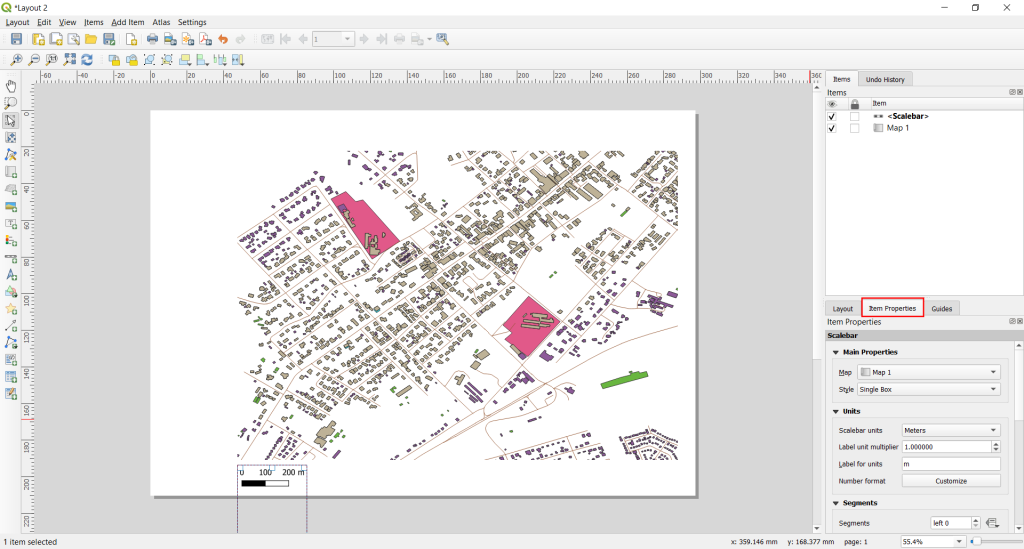
 on the toolbar (or go through Add Item > Add North Arrow), then hold left-click and drag to add it.
 (or navigate to Add Item > Add Legend), then hold left-click and drag to add it.